Thursday, January 28, 2021

NEW - February Class to Go

 February Class to Go is an 'Ink Blending' technique class with all supplies to make 6 cards. With the February Class to Go you will receive a Pool Party ink pad, a Rococo Rose ink pad, a blending brush and 2 yards of Pool Party ribbon, as well as 6 card kits with photos and pdf instructions. All of this for only $35. Watch the video to learn more about the add-on for this class. Let me know if you're interested. Deadline to RSVP is next Thursday, Feb. 4. I'd also love to know your thoughts on this technique!

Here are 3 of the 6 cards in this kit!


 G


Watch the Facebook Live replay here.


Thursday, January 21, 2021

Valentine Split Diagonal Card

 It's almost Valentine's Day! Do you have your Valentine cards made yet? If not, then give this Split Diagonal technique a try. It's so versatile and can be used in so many different ways!

Here's the card we made today on my Stampin Up  Facebook Live. You can go watch the replay if you want.


For this card I used one of the new Sale-A-Bration Designer Series Paper sets that you can get FREE with a $50 purchase from the Mini Catalog or the Main Catalog. This is the Flower and Field dsp on page 10. The card base is Cherry Cobbler and the card front piece is Powder Pink. The embellishments were cut using the Stitched Be Mine Framelits in the Main Catalog pg. 69 from the dsp and from Whisper White.

Card Base is 5 1/2 x 8 1/2
Designer Series Paper (dsp) is 4 x 5 1/4
Whisper White cardstock (cs) is 4 x 5 1/4
Coordinating cs 4 x 5 1/4
Coordinating cs strips (2) 1/2 x 8 1/2
The white piece is your template. Mark with pencil as follows
    Left side 1/2" down
    Left side 3/4" down
    Right side 3" down
    Bottom left to right  3"
Connect these marks with pencil then cut on the lines.
 
 Label 'top', 'center', and 'bottom'. You'll be using the top and bottom piece for this card.
 
Position these two pieces on the dsp and mark your cut-line with a pencil. Next cut your dsp along those lines. Set the center piece aside to use on another card later! 
 
Now take your two narrow strips and glue each along the cut edge of the dsp so that you have a narrow border on each. Trim top and bottom of each piece.
 
Attach the coordinating cs to the card base. Now attach the two pieces of dsp with dimensionals as shown in photo.
 
Stamp your sentiment then attach the cut-out embellishments at the top of the diagonal split as desires.
That's it! You're done. Here are a few other samples of cards made using the same technique. Go come up with your own ideas and I'd love to see a photo in the comment section!


Saturday, January 9, 2021

ICE CREAM CORNER CLASS

You’ll be using this awesome bundle to create 4 sweet ice cream cards, including a shaker card! Here are two of them!!

This is a product-based class so the class includes the Sweet Ice Cream bundle and a few other products. 

Here are your options… 

 OPTION 1    Sweet Ice Cream bundle (stamps and punch), ¼ pkg. Ice Cream Corner designer series paper, pkg. Ice Cream Corner Sprinkles and your card kits ** $45** 

OPTION 2     ¼ pkg. Ice Cream Corner designer series paper, pkg. Ice Cream Corner Sprinkles, and card kits ** $10** (for those who already have the Sweet Ice Cream bundle) 

Mailing for Option 1 - $10,    for Option 2 - $5, or products can be picked up.  

RSVP (and payment) due **JANUARY 15** to give time for me to place the order. 

Payment can be made by Paypal, Venmo, by check or cash. 

 The class will be an IN-PERSON class, for those who are comfortable with that,  Sat. Jan. 30, 10 am Masks required and we’ll be socially distanced. 

 There will also be a ZOOM class Sunday, Jan. 31, 2 pm 

                                                                                              This is a fun-fold card!                                                                                        

Let me know if you plan to participate! E--mail me at suzyzoo@verizon.net

Sunday, January 3, 2021

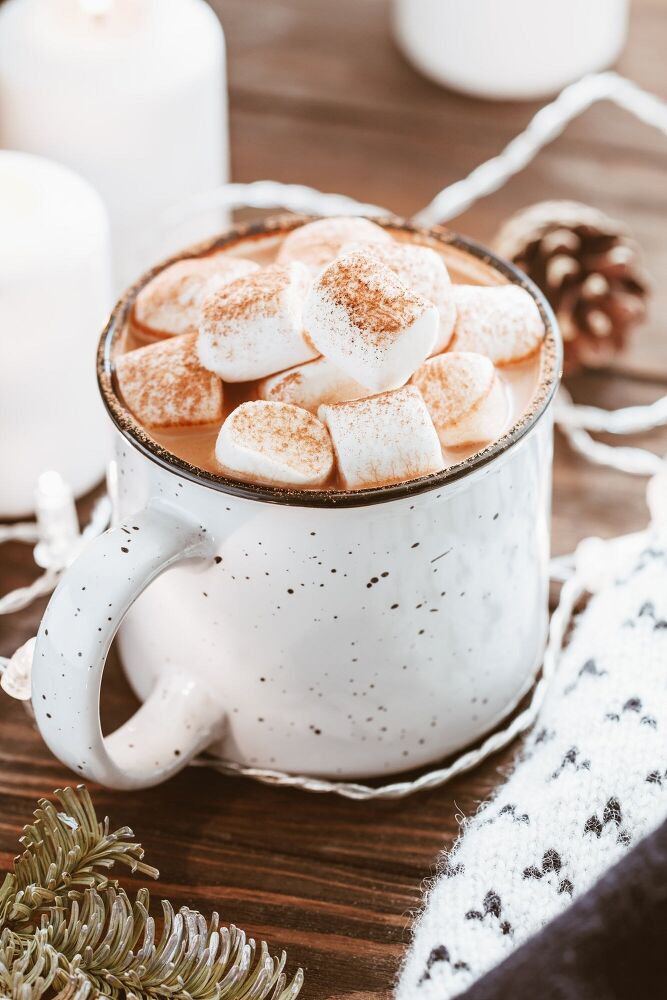
Cinnamon Hot Cocoa


This Cinnamon Hot Cocoa recipe sounds so yummy!! It's perfect weather for a delicious, warm, cup of hot cocoa topped with melting marshmellows!


Begin by gathering all ingredients together. It's much easier if it's all within reach before you start. Here's what you'll need:


  • 1 cup sugar (we use turbinado)
  • 3/4 cup brown sugar
  • 1 heaping cup unsweetened  cocoa powder 
  • 1/2 teaspoon salt
  • 1 teaspoon  cinnamon

In a medium sized mixing bowl combine both sugars and whisk together. Add in cocoa, salt, and cinnamon. Whisk until incorporated.  


Using a canning funnel, fill a clean glass jar with homemade cinnamon hot cocoa mix. Be sure jar is completely dry before filling.


Now, you're ready to give as a gift, or to make hot cocoa for yourself whenever the mood strikes.

To make homemade cinnamon hot cocoa, heat 8-12 ounces of milk in a microwave safe dish (or heat on stove top).


While milk is warming, add 1-2 Tablespoons of cinnamon hot cocoa mix to a large mug. Once milk is heated, slowly pour into the mug, stirring to incorporate.

Top your hot cocoa with marshmallows and enjoy!

Saturday, January 2, 2021

Calendar/Post-it Note Holder

 It's 2021 - a brand new year, and hopefully a much different one that 2020! But being at home more with more uncommitted time gave us the opportunity to look for ways to help other people whose circumstances were worse than our own and ways to uplift and bless those who were more isolated than us. Since card-making is my passion, I used that passion to reach out to others. I have made and sent over100 cards since mid-March, made 30+ small candy holders two different times for residents attending our ministry's Food Pantry at a subsidized living facility, and have recently made these calendar/post-it note holders. I actually made over 30 of them about two years ago for our homebound ministry at church. I have provided the calendar refills each year, but this year I needed to make a few more holders. So I decided to make a YouTube video demonstrating how to do this simple project.


This is the calendar holder laying flat.
Side and front view

These are the measurements for the pieces you need to make these holders. The mini calendars can be ordered on-line from Taylored Expressions. The calendars are super reasonable with great service.  I just noticed that they are currently out of the 2021 mini Tear-off calendars.

Give this fun project a try. It is really easy and makes such a great gift!

 I hope that this post encourages you to use your gifts to bless someone else! 


HAPPY NEW YEAR!!